How to Organize a Food Drive
Food Drive Ideas and Tips to Make Helping Hunger Simple
One really incredible way to help hunger in your community is to organize a food drive, and we're here to teach you how!
Though you might be intimidated by the thought of organizing a food drive, it can be quite simple! All you need to do is follow a simple checklist—which we've created below—and you're sure to be successful.
Food drives work best in groups with some sort of structure or schedule, like at an office, a church group, or a neighborhood.
Remember, even if you only collect ten items in your food drive, those ten items will make a difference in the life of someone struggling with hunger. Food drives don't need to be record-breaking to be successful; they just have to help one person living with hunger in your community.
Below we've included a checklist that includes each step in organizing a food drive. With that checklist, we've provided details of each step, making sure that we give you the most help possible to make a difference in your community.
Our Checklist for How to Organize a Food Drive
1. Choose start and end dates
This is the first and easiest step! Simply decide when the best time is based on the business of your organization. You can choose a week, a month or even just a day—whatever you think is likely to work best. Keep in mind that longer food drives mean you would have to collect and donate more regularly so that the food donated would not expire.
You may want to keep in mind that summer is the hungriest season, particularly for children. Another note: holiday season is often the most popular time for giving and food drives, so the need that food banks have is not that high. However, if that is the only time that works for you, we encourage you to still host a food drive—there is no wrong time to help feed hungry people in your community.

2. Find your local charitable organization
Once you've decided when you're hosting a food drive, you should next determine who you're working with.
Food pantries, food banks and soup kitchens are almost always eager to accept donations and help you organize your food drive. Each is slightly different, so you might want to research several organizations before choosing one.
Additionally, some community centers, places of worship and schools run their own programs to collect donations and distribute them to those in need. Depending on where you live, these local organizations might be a better partner for your food drive.
If you're not sure where to donate, Feeding America has a directory where you can find your local food bank.
3. Ask your partner organization for rules/guidelines
Some charitable organizations, especially food banks, will have specific requirements for what you can and cannot donate. They usually aren't very impactful, but you'll want to make sure that you know the guidelines. For example, some food banks don't accept glass jars or sugar-sweetened beverages; you can see an example here.
4. Determine how you'll collect food
This is one of the most important decisions, but it can be quite easy. Here are some questions to ask yourself about the best method to collect food for your food drive:
- Is there a central location for the group you're collecting from?
- Where is the most accessible place for most people?
- Should the collection space be in public or private?
- Should you go and collect from individuals?
Based on your answers to these questions, here are some ideas for how to collect:
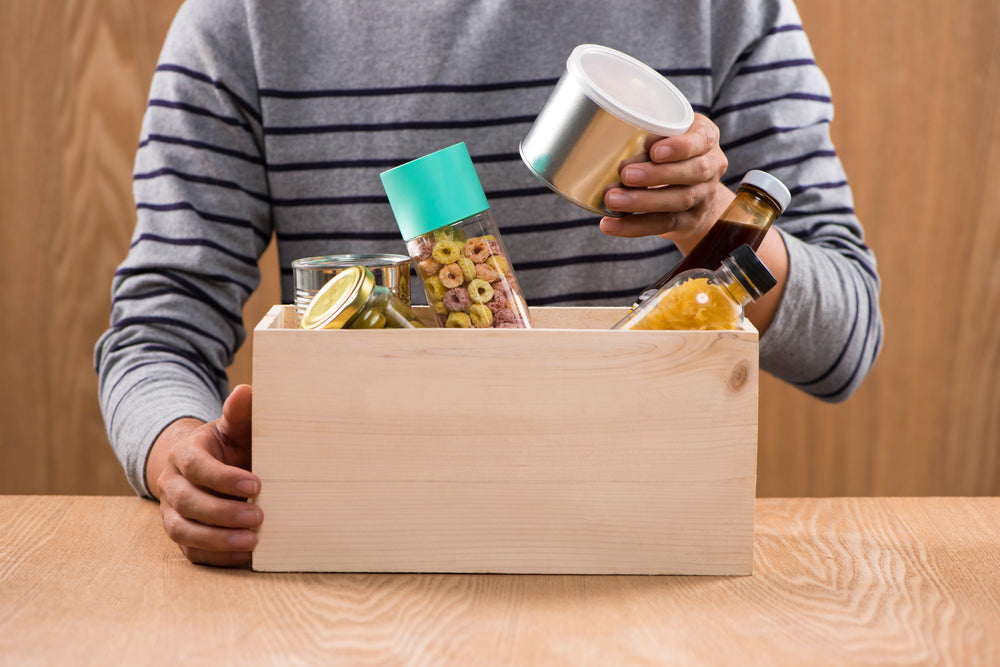
- Place a large box or bin in an office or central meeting space
- Set up staffed tables at a popular community area, like a grocery store
- Leave bags/boxes at people's doors with instructions, then collect on a specified date
- Have people bring their goods to you, either at home, at the library or another accessible location
5. Decide if you need help
Next, determine if you need help from volunteers as well as what you need help with. You might want help with collection, promotion, organization or simply just another person to help you think things through. When in doubt, ask for more help than you need, as you don't want to leave yourself with too much responsibility, and people are always willing to help their community.

6. Find people to help you
Once you've got an idea of how many volunteers you need and what you need them to do, ask friends, family, neighbors, coworkers and anyone else you know. If you're struggling to find enough available people, you can post information at the organization you're donating to and people who volunteer there might be interested.
7. Spread the word
You can do this step a thousand different ways, and you can never promote your food drive too much. If it's a food drive that the whole community can get involved in, create flyers and post them at all sorts of public spaces, like:
- Local restaurants
- Grocery stores
- Places of worship
- Church bulletins and programs
- Town hall
- Local newspapers
- Library
- Convenience stores
- Schools
- Parks
- Local Facebook group pages
You can also do some minor social media promotion, such as creating a personal post and asking community members to share it, creating a Facebook event, asking local community leaders to post about it and more.
If you're hosting a food drive at your office, you can send out an email to the office mailing list and post more information in the break room.
Some food banks have resource pages, like this one, that provide resources and advice on hosting a food drive for them.
8. Gather your materials
Though we won't know exactly what you need, these are some common materials that are needed for food drives:
- Tables & chairs
- Boxes & bins
- Vehicle for transporting donations
- Cash to make change for monetary donations
- Pens & paper to keep track of donations
- Signs denoting the food drive
- Refreshments for volunteers
9. Host the food drive
There isn't much else to say about this step, other than we wish you the best of luck!
10. Follow up the event
Once you've passed your donations on to the organization you coordinated with, there isn't much else to do! You can create a flyer with the amount of donations received, other food drive recap details and a thank you to the community in the same places you posted the original flyer. Also, you can send thank you notes and small gifts to volunteers.
We hope that this checklist helps you organize a food drive, and we sincerely thank you for taking the time and effort to help solve hunger in your community.
You can read more here about That's Caring's mission to Give Happiness and Help Hunger.